1. Introduction
We would like to thank you for choosing eTrade.
We made eTrade from the ground-up with flexibility in mind. Each element of eTrade
is extremely customizable, where you can make
eTrade to reflect your own
branding styles.
The guide gives you detailed methodologies about how you can customize eTrade and make it fit your brand perfectly!
1.2 What's Included
After purchasing eTrade template on templateforest.net with your Envato account, go to your Download page. You can choose to download eTrade template only or the entire eTrade template package which contains the following files:
- eTrade template: A .zip file with all .html files with all necessary assets.
- Documentation: An HTML format documentation.
- Licensing.
1.3. How to Install eTrade Website Templates
Installing a eTrade template is not like WordPress or CMS theme installation, actually, installation keyword does not go with blogar template. Why? because you don’t install anything, yes blogar or HTML templates are automatically rendered by the browser.
1.1 Editing eTrade Template
Before all that you have to edit your template and place your own contents by replacing old demo contents, in this case, you will need a code editor such as – VScode, Sublime Text, etc. When template editing is done using editor, save the files and folder and go ahead to upload template files on live server.
1.2 Uploading to Live Server Using FTP:
First of all, If you don’t have your template on your computer, download eTrade template to get started, when download/purchase complete you will get a package like this screenshot (after unzip).

1.3 Package comes with documentation unzip the download package, you’ll found a folder with all template files, like above screenshot.

1.4 Now, login to your hosting control panel or FTP client, such as: FileZilla, CyberDuck etc. and upload template files on your server root.
1.5 Once all files are uploaded, go to www.yoursite.com/index.html you can see your the homepage, make sure the initial page is named as index.html
2. Template Structures
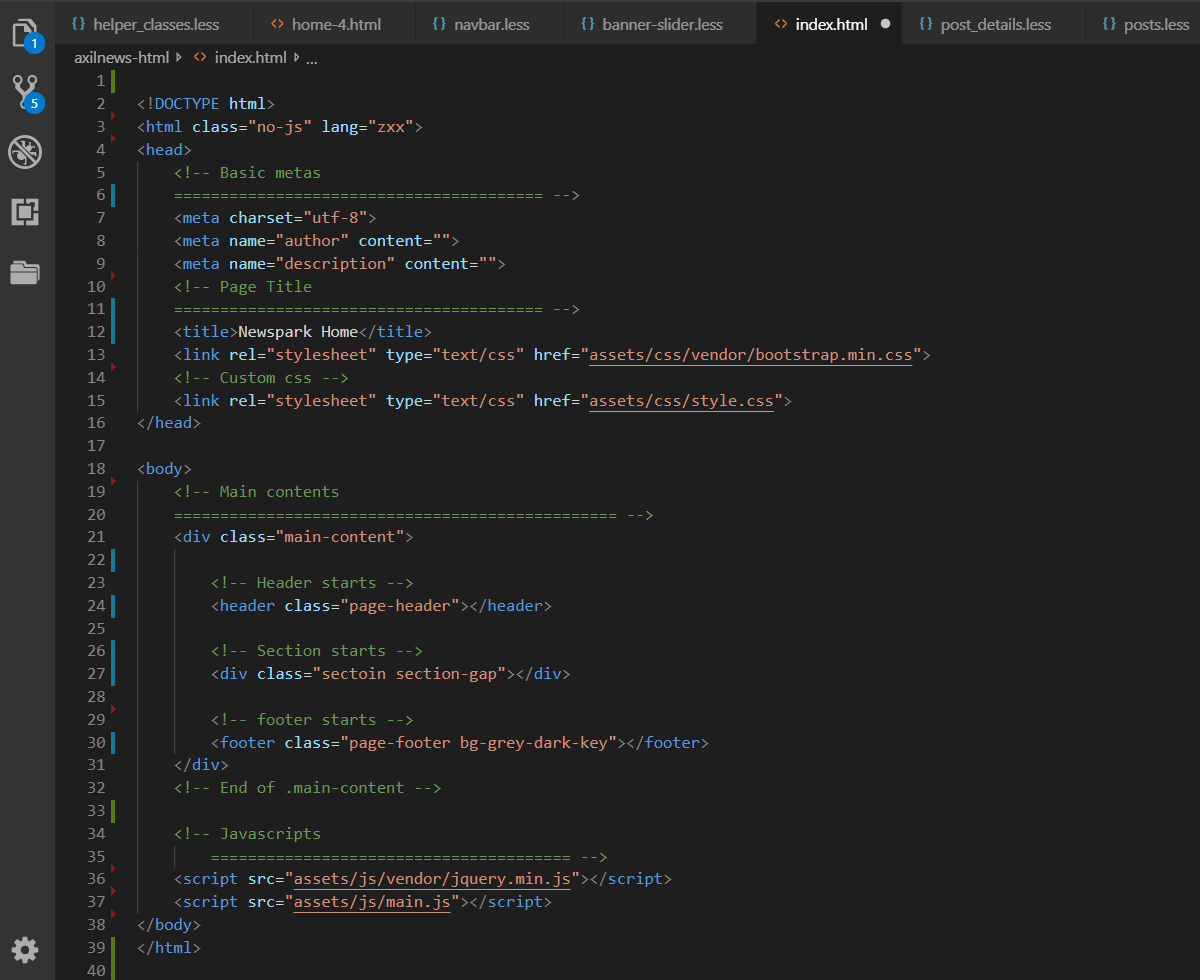
2.1. HTML Structure
This template is a fixed layout with four columns. The main contents are inside the 'body' tag divided into differt section (i.e. header, banner, Product... footer etc.). The general template structure is the same throughout the template. Here is the general structure.
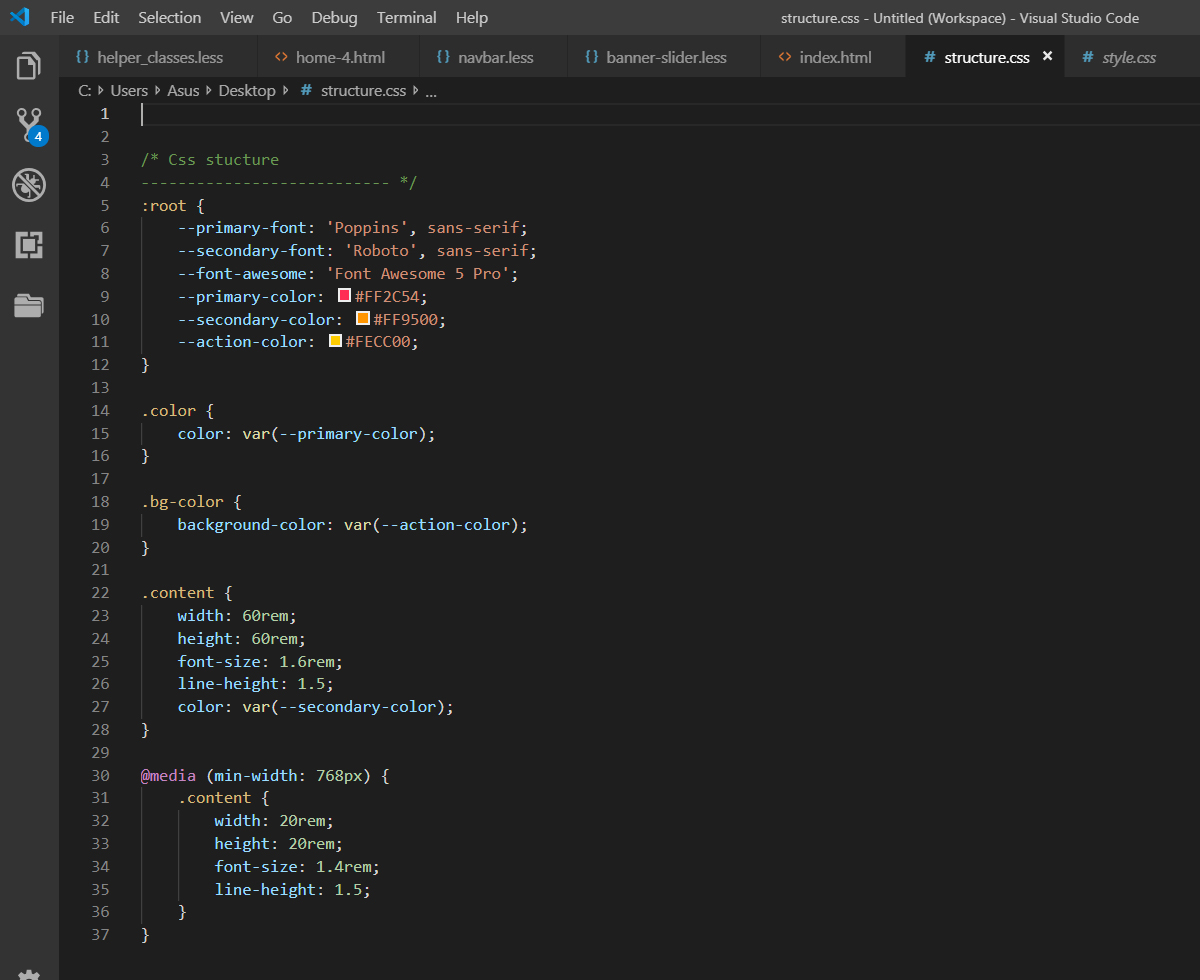
2.2. CSS Files and Structure
We are using one customed CSS files (style.css) and several vendor css files. CSS file structure is as follows:
2.3. JavaScript Files
There is a custom .js file named main.js and are several vendor js files as plugins. We are using jQuery(a javascript library) instead of vanilla javascript. Our file structure is a follows:

3. Change Contents
3.1. Changing Images
To change any images of the website
- Carefully collect the source name of the image (i.e. logo.png)
- Open the file called images.
- Find the particular image file.
- Replace the file with your image.
- Make sure that the file name does not change.The file name should be the same.
Example: Suppose you want to change the following image file:

You have to do the following to change this image with your own image:
- Open the file called images.
- Find the particular image file called logo.png
- Replace the file with your image
- Make sure that the file name does not change.
Note: Images seen in the live
preview are only set for preview purposes.
They are not included in the download
files.
3.2. Changing Brand Logo
- Open the folder called images.
- Find the .png files called logo.png.
- Replace the files with your own logo.
- Make sure that the file names does not change.
3.3. Changing Colors
We have used scss for this project to write css. If you are familiar with scss you should customize only the .scss files. Please make sure you compile the style.scss file after you have made changes in any of the .scss files.
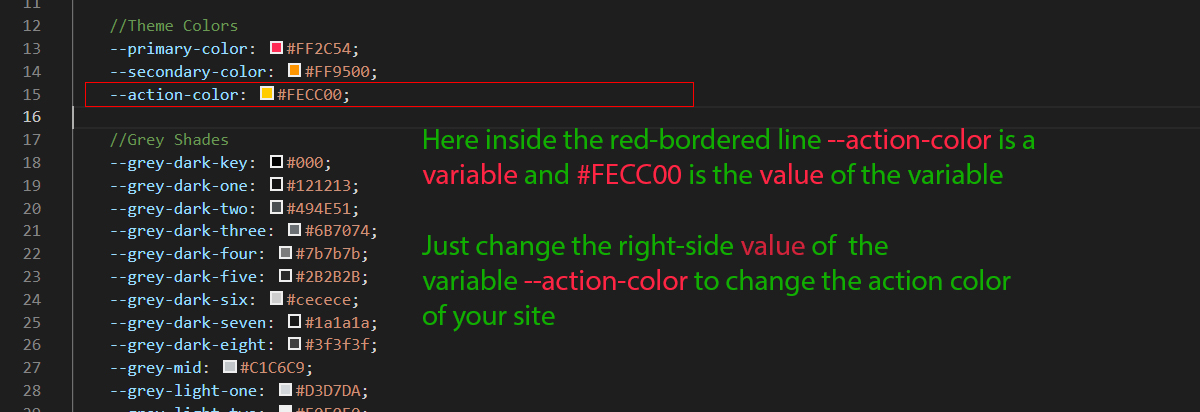
3.3.1. Changing default template colors
- Open the variables.scss file from assets > scss > default folder with a text-editor.
- Change the right-side values of the variables to change any default colors of your site.
- Save your file.
Have a look at the following image for a visual description:
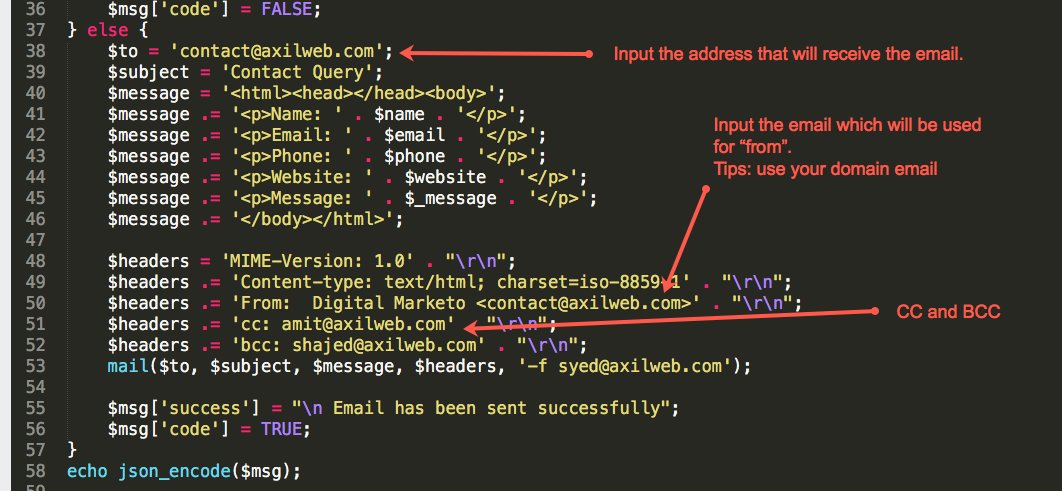
3.4. Changing Email Settings of the Contact Form
- Go to main folder
- Open mail.php
- Go to line number 31
- Follow instructions in image below:
3.5. Change FontAwesome icons
- Open the .html file with a text-editor from where you want to change any FontAwesome icon
- Choose and collect an icon from fontawesome.com
- Replace the existing icon from the .html file with the new icon you got from fontawesome.com
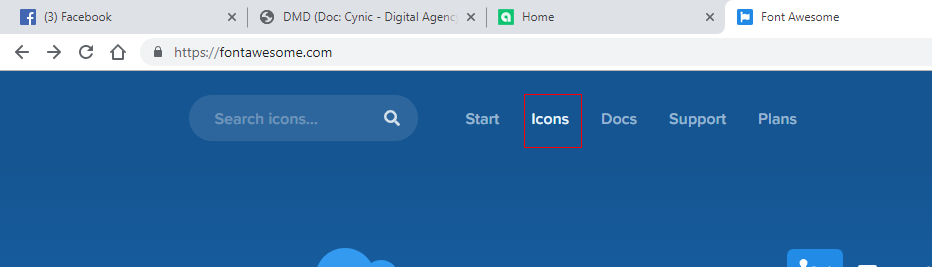
To get the icon from fontawesome.com-
- Go to fontawesome.com
-
Click the icon tab
-
Search for your desired icon font and click on the thumbnail to get the icon
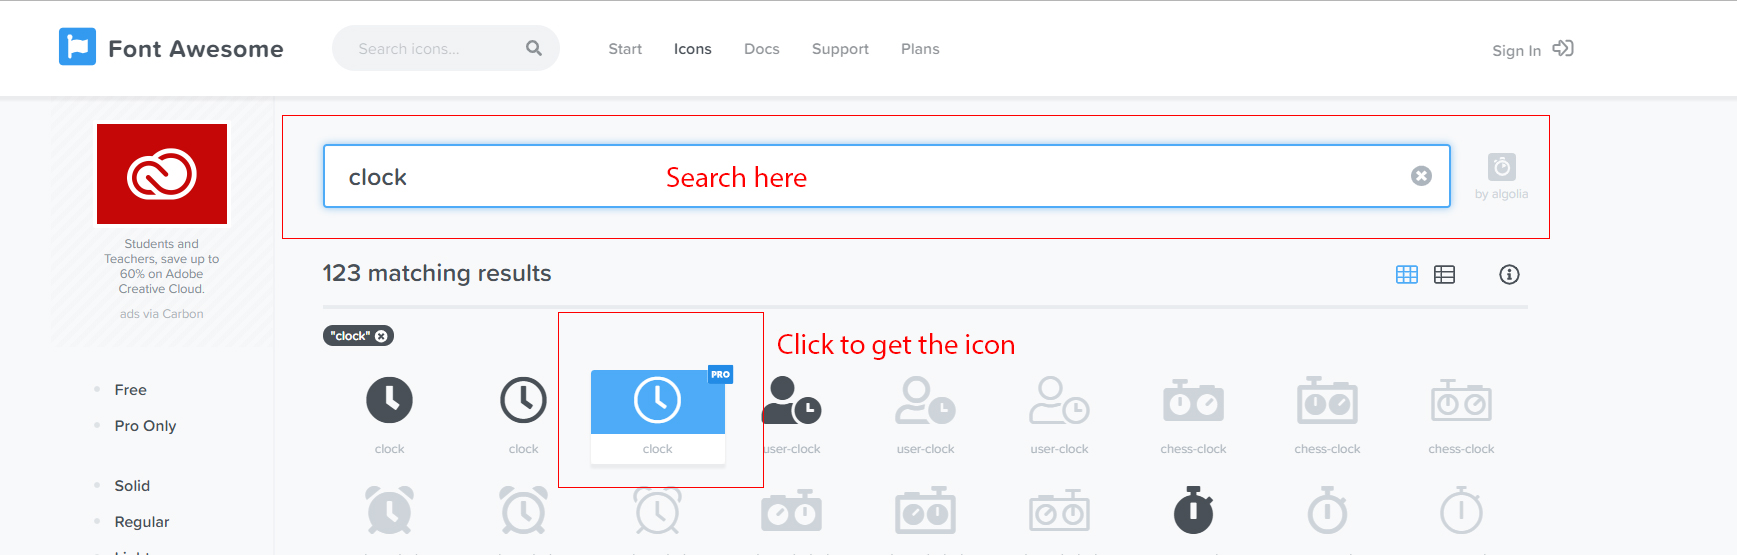
-
Copy the red bordered text as shown in the following image
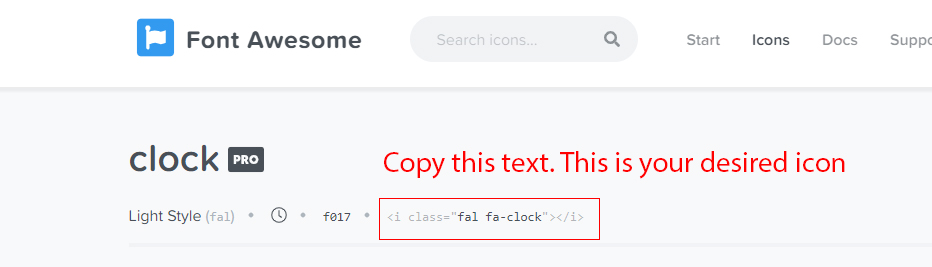
- Collect this text to and replace the existing icon from the .html file.
4. Sources and Credits
We've used the following fonts, free icons and plugins as listed:
5. Support
Support Scope
Included in Free Support Scope:
- Fixing bugs
- Helping clients in changing site contents by sending instructions that couldn’t be covered by documentation
NOT Included in Free Support Scope:
- Any type of custom changes
- Any type of request to update clients’ site contents
Paid Support Scope:
Paid support is not a part of Free Support when you purchase the template from templateForest. We understand that some clients need custom changes while using our template. For that we kept an option for paid support which includes:
- Custom change request
- Custom pages
- Custom features
We kept a flat rate for our paid support which is $35/hour.
Support Ticket
Please send your support request here: Support Request. You will response within 1 business day.
Regards,
Syed Tahmim Islam
Axilthemes Support Team